Dashboards
Dashboards combine multiple visualizations into a single view, giving you a comprehensive overview of your log data. Build dashboards to monitor application health, track errors, and analyze user behavior.
Try it Live
Explore a working example dashboard in the Oodle Playground to see a multi-panel dashboard.
Terminology
| Term | Description |
|---|---|
| Dashboard | A collection of panels arranged on a canvas that provides a unified view of your data |
| Panel | A single visualization displayed on a dashboard (also called a visualization) |
| Visualization | A chart, graph, metric, or table that represents your log data visually |
| Index Pattern | The data source that defines which logs are available for visualizations |
Creating a New Dashboard
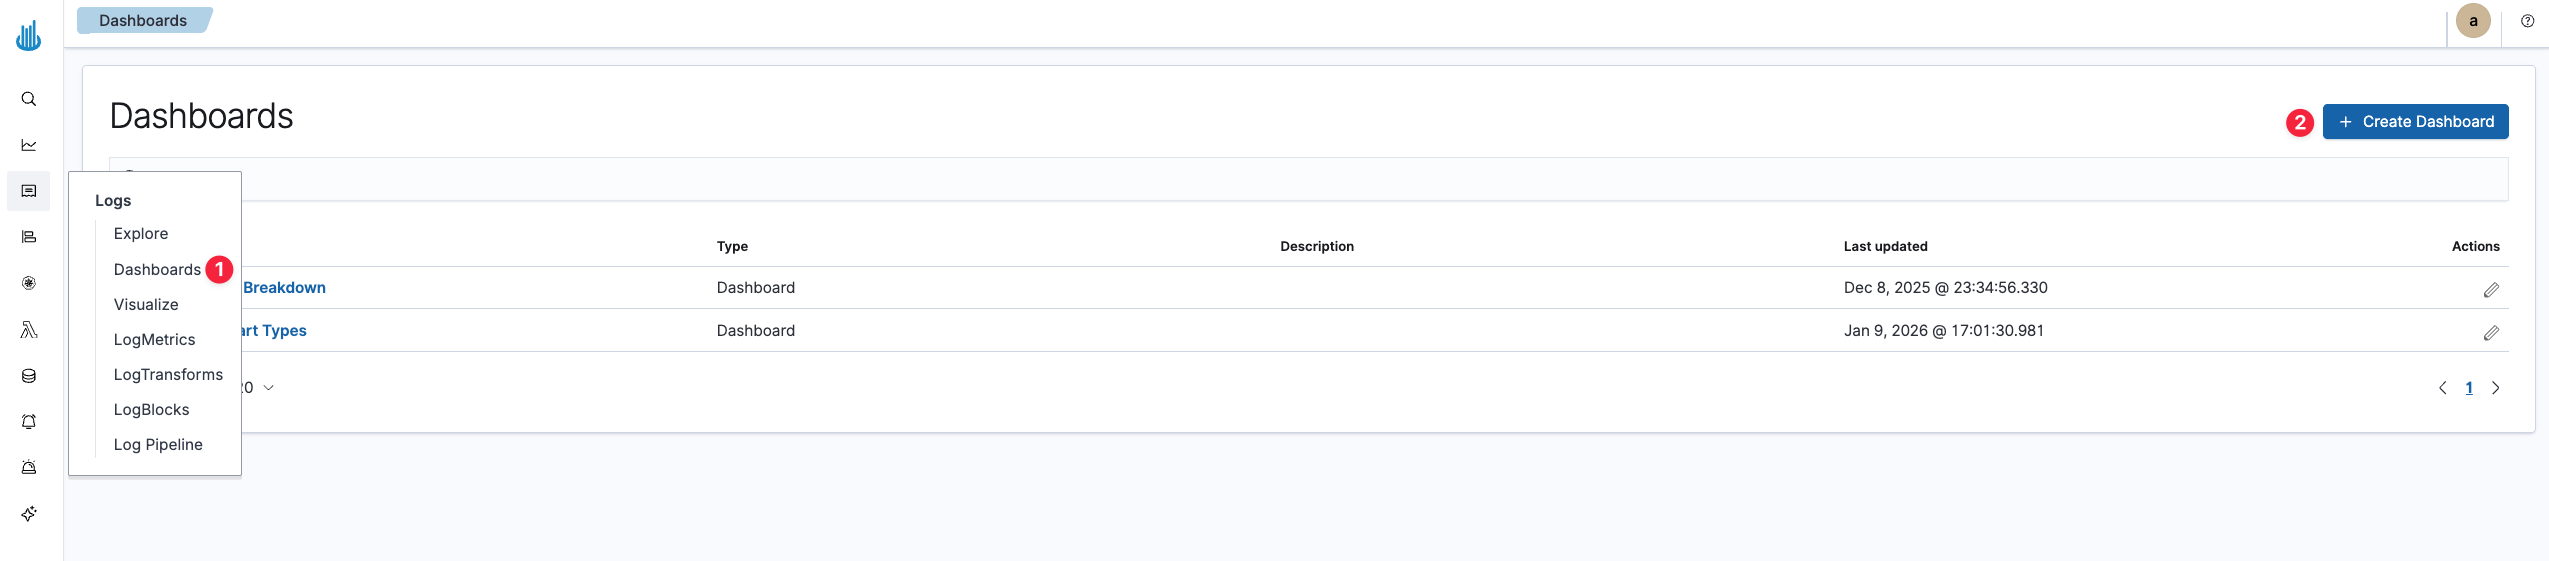
- Navigate to the Dashboards section from the sidebar
- Click Create Dashboard
- You'll see an empty dashboard canvas ready for panels
Adding Visualizations
Add Existing Visualization
- Click Add in the toolbar
- Select Add from library
- Browse or search for saved visualizations
- Click on a visualization to add it to the dashboard
Create New Visualization
- Click Add in the toolbar
- Select Create new
- Choose a visualization type
- Configure and save the visualization
- It will automatically be added to your dashboard
Dashboard Controls
Time Filter
The time picker in the top navigation controls the time range for all panels. You can:
- Select predefined ranges (Last 15 minutes, Last 24 hours, etc.)
- Set custom absolute time ranges
- Use relative time expressions
Query Bar
Enter a query in the search bar to filter data across all panels:
container_name:frontend AND log_level:error
Filters
Click Add filter to create field-based filters that apply to all panels. Filters appear as pills below the query bar and can be:
- Toggled on/off
- Pinned across dashboards
- Inverted (exclude matching documents)
Refresh
- Manual refresh: Click the refresh button
- Auto-refresh: Set an interval (e.g., every 30 seconds) for live monitoring
Panel Options
Click the gear icon on any panel to access:
| Option | Description |
|---|---|
| Edit visualization | Modify the underlying visualization |
| Clone panel | Duplicate the panel on this dashboard |
| Create drilldown | Link to another dashboard or URL |
| Full screen | Expand the panel to full screen |
| Replace panel | Swap with a different visualization |
| Delete from dashboard | Remove the panel |
Saving Dashboards
- Click Save in the toolbar
- Enter a dashboard title
- Optionally add a description
- Choose whether to save the current time filter with the dashboard
- Click Save
Save Options
- Save as new dashboard: Creates a copy with a new name
- Store time with dashboard: Opens dashboard with the saved time range instead of the default
Next Steps
- Learn about creating visualizations to build custom panels for your dashboards
- Explore the logs interface for ad-hoc log analysis
Support
If you need assistance or have any questions, please reach out to us through:
- Email at [email protected]